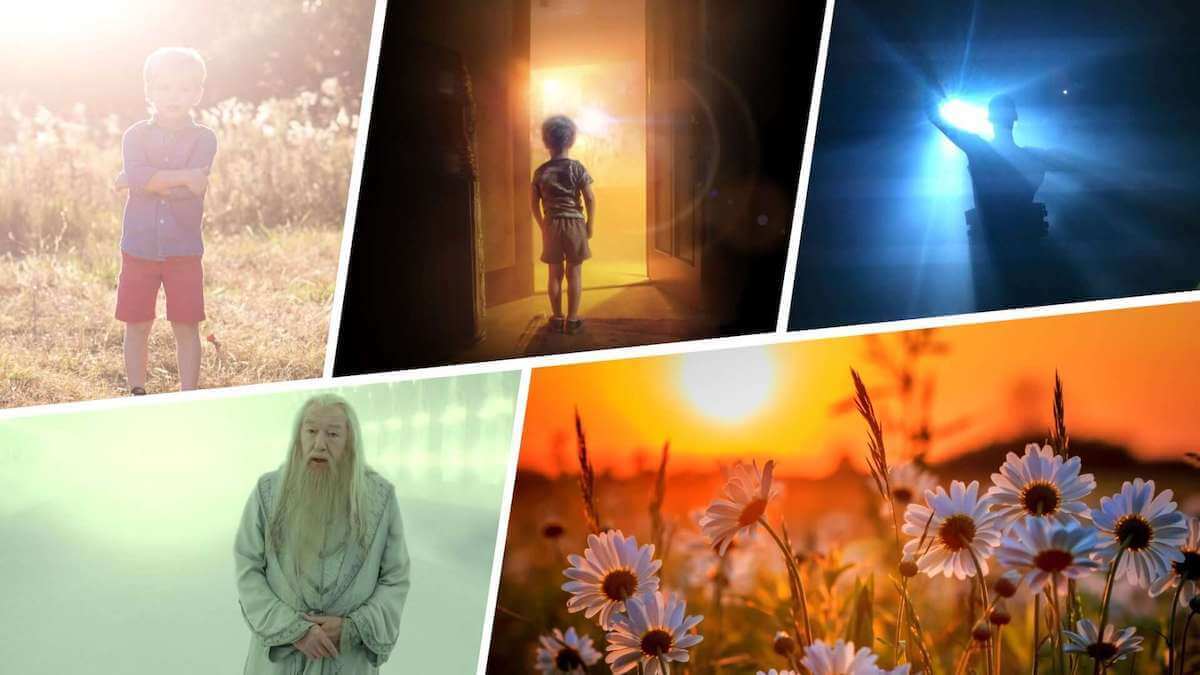
Knowing how to properly expose your shots is an obvious first step for becoming a photographer or cinematographer. We’ll lay out examples and visuals to answer what is overexposure in photography. But we’ll also take a look at why overexposing photos with intention sometimes works (sometimes doesn’t) and the ways in which you can break the rules to produce visuals that are uniquely yours.
Overexposed Meaning
Overexposed photography definition
In photography and film, exposure is the process of using light to create an image. In the days of film, exposure was achieved with a chemical process between the light and the celluloid. Now in the digital age, exposure is achieved with light hitting the camera sensor, which digitally translates that information into the images we see.
The short answer to "What is overexposure in photography" is that in either scenario (digital or film), too much light was registered. Let's talk more specifically about that result and how to eliminate it (or use it creatively to tell its own story).
Overexposure Definition
What is overexposure?
Overexposure is when an image appears brighter than it should, or brighter than neutral exposure. When too much light hits the camera’s sensor, it results in an extremely bright image that is now overexposed. Overexposure limits detail in the photo and reduces any opportunity for shadowing or distinguishable highlights in the image.
In order to reduce that possibility of an overexposed picture or overexposed film, the photographer controls the amount of light that gets into the camera. There are two settings that control exposure — aperture and shutter speed. These two settings allow the photographer to collect light and bring that light into the camera.
ISO is another setting that can be adjusted to help regulate brightness, but because it doesn’t function to let light in, it doesn’t regulate exposure.
How to fix overexposed photos:
- Adjust aperture, shutter speed, and ISO settings
- Use bracketing as you’re taking your shots
- Use exposure sliders in Lightroom or other post program
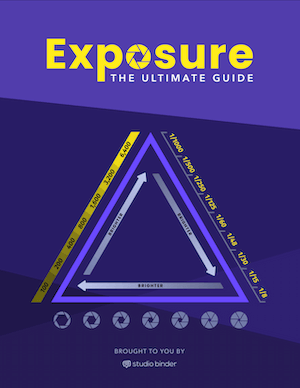
As we explore the world of exposure in photography, there is much more to it than what we're covering in this article. For a complete breakdown of exposure and the techniques photographers use to be able to work in any lighting scenario, download our free E-book: The Ultimate Guide to Exposure.
Free downloadable bonus
FREE Download
Ultimate Guide to Exposure
The Exposure Triangle is something every photographer and cinematographer needs to master. Download our FREE e-book to get in-depth explanations and tutorials on topics like aperture, ISO, shutter speed, and how to balance these settings to nail perfect exposure every time.
What is Overexposure in Photography
Overexposed photography examples
Before we get into how to fix overexposed photos, what does overexposure look like? Well, for starters it’s noticeably brighter than it should be.
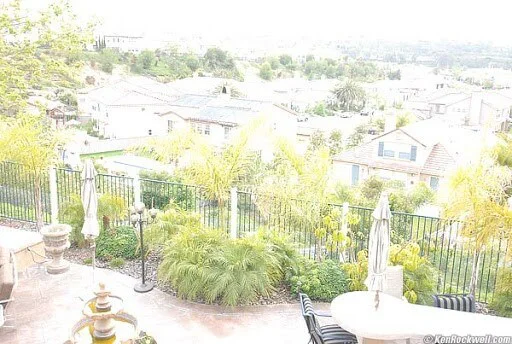
Overexposed image
The brightness overpowers any distinguishing details we might see. No shadows exist and there aren’t any highlights other than the blobs of light all over the image.
Quite often, you can tell with the naked-eye when an image is overexposed, underexposed, or just right. Underexposed is simply the opposite of overexposed, where the image appears too dark.
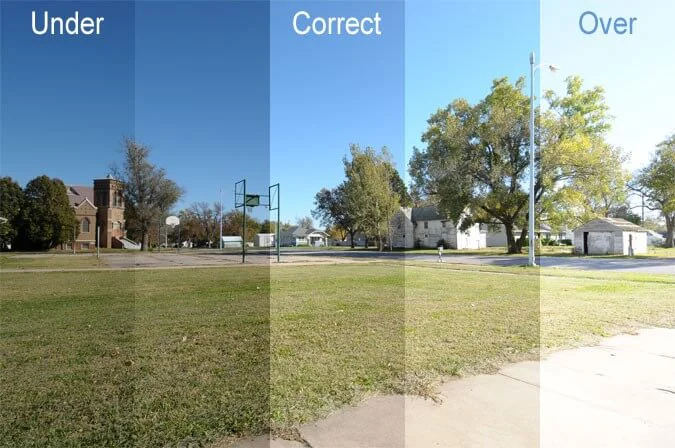
Under, correct, and overexposed image
So now how do we go from overexposed photo to correct exposure?
How to Avoid Overexposure
Camera settings for exposing photos
When you snap a photo or film a scene, lighting obviously plays a major role. But you don’t have to be a lighting expert to nail the exposure of those shots.
With just a simple understanding of how aperture, shutter speed, and ISO work together, you can trust those shots will be properly exposed.
Quick Reminder
Aperture adjusts how wide or narrow your lens opening is. The wider the aperture, the more light is let in, and the narrower, the less. Let's review how aperture works in the process of exposing images.
What is Aperture? • Subscribe on YouTube
Shutter speed is how fast or slow your camera’s shutter opens and closes will determine how much light gets let in when you snap a photo. Let's review how shutter speed works in the process of exposing images.
What is Shutter Speed? • Subscribe on YouTube
ISO is the setting that controls brightness. So it’s not what allows light to enter, but it works in unison with the two other settings. Let's review how ISO works in the process of exposing images.
What is ISO? • Subscribe on YouTube
These three pieces are what’s known as the Exposure Triangle.
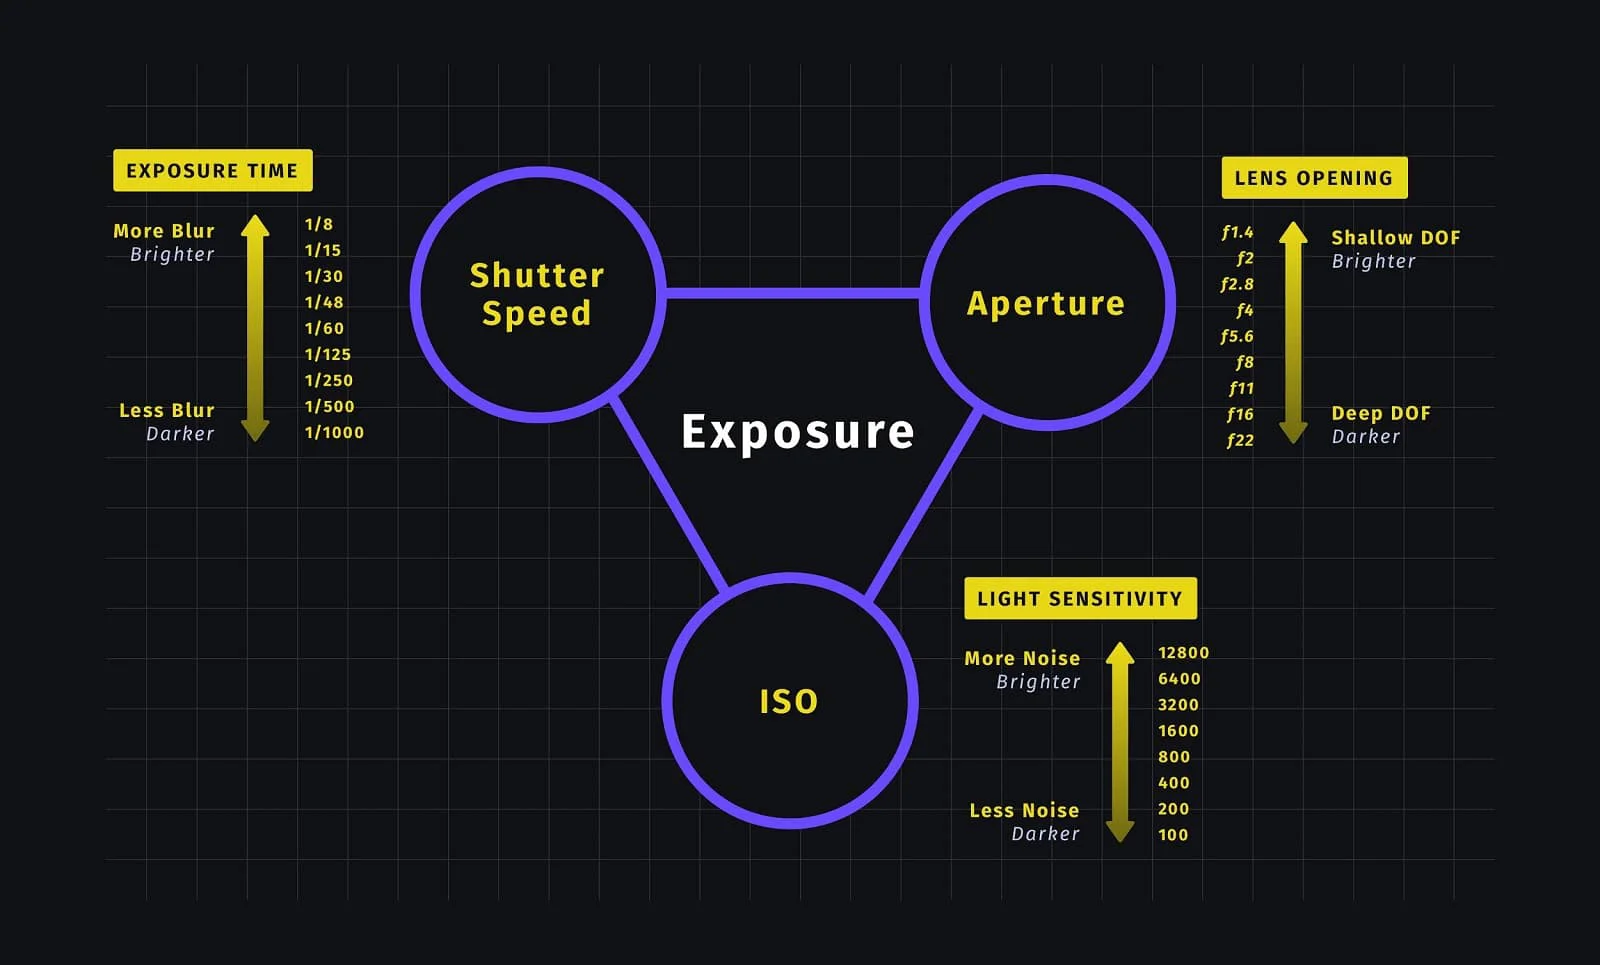
The Exposure Triangle • The Key to Avoid Overexposed Photos
How do they all work together? Knowing this, is the best preventative against unwanted overexposed photos.
Fixing Overexposure
Tips on exposing photos
If you’re in a well-lit room using a wider aperture (say for a different reason like wanting a shallow depth of field), you’ll likely need to use a faster shutter speed so too much light doesn’t overexpose your shot. Because ISO controls brightness you’ll also want to keep this at a lower setting.
Perhaps you’re in a dim-lit space, and you want a really deep depth of field for a sharp and clear image, you’ll need a narrower aperture here — but what about the light? In this situation, a higher ISO setting and slower shutter speed might work best.
Related Posts
Remedying Blown Out Photography
How to fix overexposed photos
First things first. Learn how to take a properly exposed photo. No matter how well you know how to edit photos, having a strong understanding of how the Exposure Triangle works, can help eliminate your problems before they begin.
Manual mode gives you more control over your photos than auto modes. Learning manual, means learning how to properly expose your shots.
Mess around with this until you’re comfortable. A great way to practice working with proper exposure while shooting is with a technique called bracketing.
Bracketing
Bracketing means taking two (or more) extra photos with different settings so you have three all together, with more opportunities to get a properly exposed shot.
The two extra photos are +1 and -1 exposure value than the shot you originally took, or what you deemed as best. Here's a great explanation of how to use bracketing while shooting and a tutorial on how to fix overexposed photos in Lightroom by combining multiple exposures into the final "perfect" image.
How to bracket your shot
So if you’re shooting in manual mode, test this out.
Take your shot with the settings that you believe work. And then raise and lower one of the settings we discussed in the Exposure Triangle.
Your settings are ISO 200 with an aperture of f/5.6, and a shutter speed of 1/500th. That’s the photo you took. Now for the second photo, pick one setting to change. And let’s do the -1 value first. We’ll change the shutter speed to 1/1000th. And then for the +1 value, we’ll change it to 1/250th.
Most cameras do this automatically with internal settings, but you can of course do this manually. If you choose to do this manually, make sure you’re on a tripod to get the identical composition of your initial shot.
Now in post, you can blend these three images together to create that perfectly exposed image.
You can also do +-2 or +-3 values. HDR or high dynamic range is a technique that reproduces a greater range of luminosity than what’s possible with standard photography. Stacking photos that are +/-3 is considered HDR.
Don’t forget that the shutter speed doesn’t just affect light. It affects the movement of the object. And aperture will affect your depth of field and the sharpness of the foreground and background. Change the setting that makes most for your scene.
Knowing how to fix overexposure in post-processing in programs like Adobe Photoshop and Lightroom is essential.
Exposure Slider
The Exposure slider adjusts the overall brightness of your image. The numbers on these are the number of stops you can increase or decrease. Remember that this affects your entire photo, so go slow. It’s a good place to start but isn’t best for those final details.
More local details or exposure changes, you can use the Adjustment Mask. Here's how that process works in Lightroom.
How to use Lightroom’s sliders to avoid overexposed images
Whites and Highlights Sliders
The Whites slider adjusts the mid-tones in your image. The mid-tones hold a ton of contrast. Be careful not to go too far, as you can remove the majority of detail from a lit area.
Highlight sliders adjust the brightest areas of your photos and can help remedy any details you need to pull out.
Overexposing with Purpose
Overexposure in films (that work)
Now that we’ve got the fundamentals out of the way, we can talk bending those fundamentals. Like everything else, once you know the rules, you can break them. And overexposing your shots with purpose and intention goes a long way, not only for the shots themselves but sometimes for the film as a whole.
In Close Encounters of the Third Kind, blindingly bright spaceship lights completely light up the shot and here, overexposure makes sense! It fits the scene but more also creates tension.
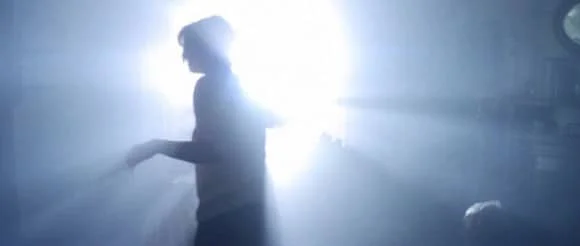
Overexposed UFO lights
Both major motion pictures and obscure indie films, sometimes use overexposure to complement the story.
It works well in dream sequences like in Run Lola Run...
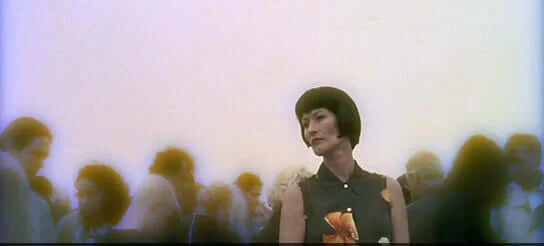
Overexposure in Run Lola Run (1998)
Other instances when overexposure could work would be characters “seeing the light,” some representation of “Heaven,” or even films with ghosts and paranormal beings. And of course other times, overexposure has more to do with how the scene is lit.
You can do a lot with film lighting techniques, but one type that is prone to overexposure is called High Key lighting. High Key lighting is virtually shadowless and is often produced with front lighting.
Movies that use High Key in shots, can run the risk of being overexposed. Below is an example from Harry Potter and the Deathly Hallows Part 2.
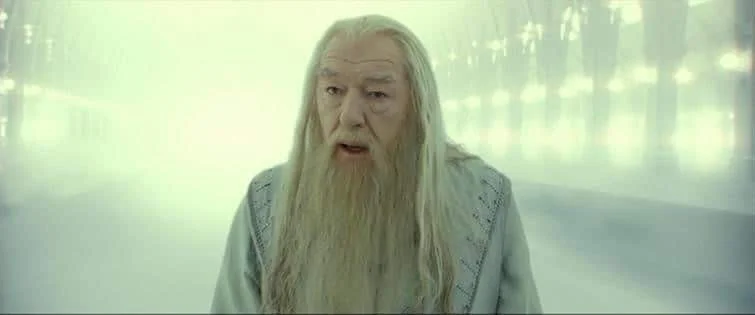
Overexposure with lighting techniques
Whether you’re a cinematographer or photographer, understanding the qualities of light and how to harness and control that light, is a requirement for consistency, creativity, and well, “correctness”!
Up Next
What’s Underexposure?
Okay, fine. It’s the opposite. I know you get it. But is that all? What are some unique examples of underexposure in photos and film that really work? We’ll get into them next.
Up Next: Underexposure →
Showcase your vision with elegant shot lists and storyboards.
Create robust and customizable shot lists. Upload images to make storyboards and slideshows.
