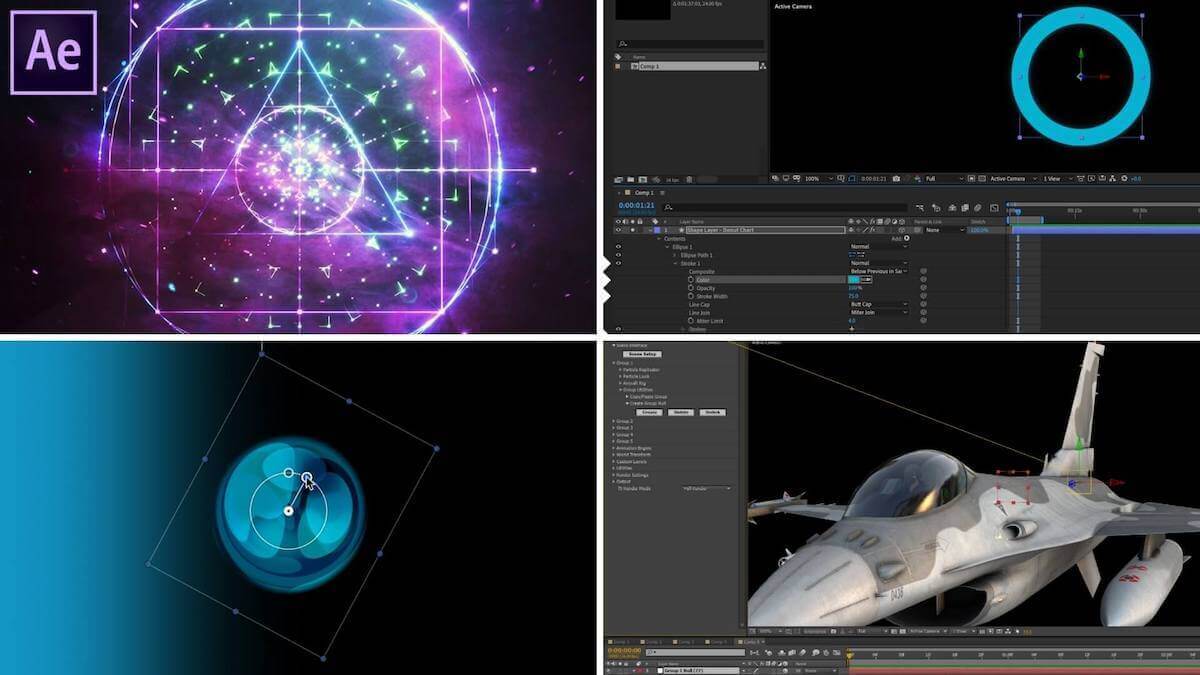
After Effects is an incredibly powerful and useful program. However, learning how to initially use it can be daunting. One fundamental technique used for both simple and complex animations is moving the anchor point. It may seem easy to do, but you might have found that simply clicking and dragging didn’t quite do the trick. Here are the three simple steps to learn how to move the anchor point in After Effects.
After Effects how to change anchor point
First, let’s define anchor point
The tool bar, icons, and transform menu in After Effects can be incredibly daunting. Learning what the anchor point is and how to move it is essential for anyone new to After Effects. Let’s first get a solid understanding of the anchor point definition.
ANCHOR POINT DEFINITION
What is an anchor point?
In After Effects, the anchor point is the point which all transformations revolve around. It is the point or the position where a layer or an object will scale or rotate from. A good way to think of an anchor point is the point that establishes a sort of “center of gravity” for the transformation you apply to a layer.
Without an anchor point, there is no central point that serves a frame of reference to where you are moving or scaling from. Inevitably, you will need to move the anchor point to achieve a specific motion or animation.
Moving the anchor point in After Effects is the key to basically everything you will create in the software. Let’s take a look at the step-by-step process of how to move the anchor point in After Effects.
How to move the anchor point in After Effects
1. Select the Pan-Behind Tool
If you’ve ever tried to move an anchor point in After Effects, you may be frustrated to find that the entire layer movies as well. To move your anchor point without moving the entire layer, you need to select the “Pan-Behind Tool”. You can do this by either clicking the icon on the top toolbar or by hitting the (Y) key on your keyboard.

Pan-Behind tool • After effects how to change anchor point
Once you select this you will be able to move your anchor point freely.
Related Posts
After Effects set anchor point movement
2. Move the anchor point
The next step is learning how to move the anchor point in After Effects is, you guessed it, move the anchor point to your desired location. The anchor point values will automatically update in your transform menu as you move the anchor point. This video covers a tutorial to this step and more in depth.
AE how to move anchor point
When moving the anchor point, you can actually move them perfectly along the X or Y axis. Hold down shift and move the anchor point either up or down. Make sure that the Pan-Behind Tool is still selected. This will help you be incredibly precise when moving your anchor point.
How to move the anchor point in After Effects
3. Deselect the Pan-Behind Tool
Once your anchor point is in the desired position, make sure you deselect the pan-behind tool by selecting the Selection tool at the top toolbar or by hitting the (V) key on your keyboard.

Selection Tool • AE how to move anchor point
That is pretty much the gist of moving the anchor point in After Effects. Here’s another useful tip to keep in mind when moving anchor points.
After Effects set anchor point
Recenter the anchor point
When you create a new layer in After Effects, the anchor point will appear in the center as a default. But if you move the anchor point and need to recenter it, simply hit Command+Option+Home on a Mac. If you are using a PC, the keyboard shortcut is Ctrl+Alt+Home.
While there are a lot more techniques and tips when it comes to anchor points, learning how to move the anchor point in After Effects is one of the fundamental tools you will need to learn to get started in After Effects.
In most After Effects projects, you will be moving the anchor point for 60%-80% of your layers. Dialing in this technique and the keyboard hot keys for it will help you work more efficiently and effectively.
Related Posts
UP NEXT
Best Free After Effects Templates
If you’re just learning how to use After Effects, you’ll want to download a few of the best free After Effects templates. Templates save time and can elevate the production value of your project. Check out our next article where we’ve listed the best After Effects templates you can download for free.
Up Next: AE Templates →
Showcase your vision with elegant shot lists and storyboards.
Create robust and customizable shot lists. Upload images to make storyboards and slideshows.
