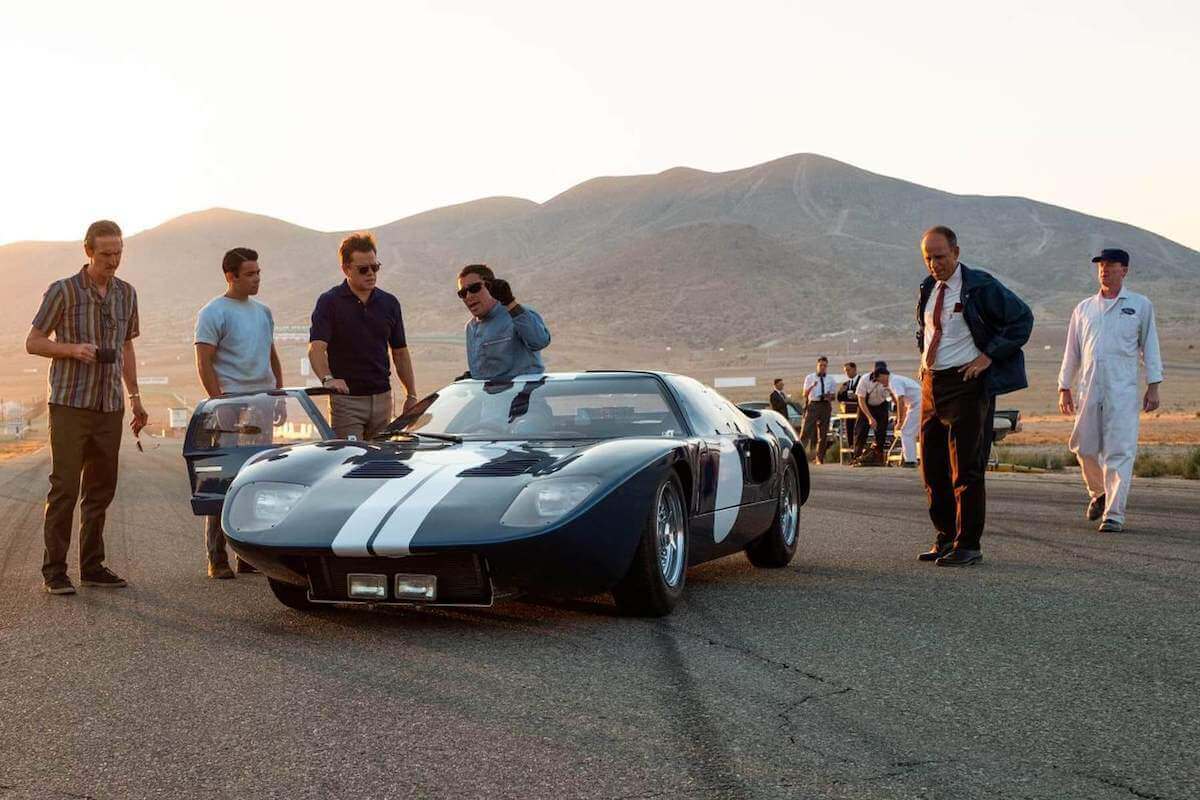
Golden hour is a term to describe a certain kind of light that is incredibly pleasing to the eye, and also looks incredibly cinematic. But what is it? And when is golden hour? We’ll look at some examples from top Hollywood filmmakers as well as tips on how you can capture images in this incredible light.
What Time is Golden Hour
When is golden hour and what is it?
Golden hour (a.k.a. magic hour) refers to the sun’s positioning relative to whatever you are photographing or filming.
But, in layman's terms, what is it, and also, when is it? Knowing the range of golden hour time will help you capture incredible light for your images and footage.
Golden Hour Time
When is golden hour?
Golden hour is the first hour after sunrise and the last hour of light before sunset that produces a warm natural light. That window of time is determined by where you are geographically, as well as the season. Golden hour occurs when the Sun is between six degrees below the horizon and six degrees above.
This lighting it produces is ideal for photography because of the relationship between the sun’s positioning and distance to your subject. During the rise and fall of the sun, it is closer to the subject, and it is also moving through the atmosphere at a much lower angle than usual, producing soft diffused light.
This type of light works well for photographers. It does not create any harsh shadows or exaggerated highlights. Golden hour also casts a warm color temperature illuminating the subject in a fairly flattering way.
What is Golden Hour good for?
- Use it for Front-Lighting
- Use it for Back-Lighting
- Use it for Rim-Lighting
- Capture Sun Flare
- Capture Silhouettes
How exactly does golden hour light get that perfect color? And how can you use it and plan for it, to get the best shots.
Aputure’s video below lays it all out in four minutes.
Golden hour time pro-tips
Golden Hour Examples
Movies shot at golden hour
It's no wonder that so many photographers and cinematographers like to shoot at golden hour. It just might be the most ideal natural lighting scenario. Here are some examples of golden hour cinematography and the filmmakers behind those scene discussing how they were able to work around and within that narrow window of perfect lighting.
First, here's Phedon Papamichael, cinematographer on Ford v Ferrari discussing how they approaching shooting at golden hour. Unfortunately, this interview segment was taken from a podcast so it's audio only but the practical information is just too good to pass up.
Magic hour in Ford v Ferrari
As we've discussed, taking full advantage of magic hour comes down to scheduling and preparation. Papamichael and his crew were able to strategically shoot in and around golden hour to get the most out of their day while capturing some exquisite shots in natural light.
Another filmmaker notorious for his use of golden hour is Terrence Malick. In Days of Heaven, we have some of the most luscious magic hour images ever captured. In this video, camera operator John Bailey explains their process.
Planning a shoot around golden hour
So, now we know what golden hour is and we've seen some examples of it from top filmmakers. The question now becomes, how can you get that same magic hour quality in your own images. The next section is dedicated to useful tips on planning and executing a golden hour shoot.
GOLDEN HOUR PHOTOGRAPHY TIPS
Capturing golden hour
Now for some tips on how to use this light to get the pictures you want. Because the window for golden hour might be so narrow, you don't want to chance it. Be prepared with these quick tips!
Observe Sky a Day Earlier
Brief yourself on how the light moves and the speed at which it moves the day before. This will help you determine when the light is at its peak.
Plan Ahead of Time
Use a golden hour calculator to know the exact time. It’s a great tool to avoid wasting time. Then again, you can just check your phone for sunrise and sunset times, and be ready to shoot within the hour range as mentioned above.
Also, knowing your location ahead of time is critical so you don’t miss the light window!
Cloud Coverage
If there’s too much coverage, golden hour may not be golden hour at all. They can enhance the light or block it, so be mindful of this.
Set White Balance to Cloudy
This will ensure you get the warmest color you can get out of your images and footage.
Use a Wide Aperture
This is for two reasons. One, the light isn’t as bright during this period, so you might need a wider aperture to let more in. Naturally, you'll have to adjust your ISO and shutter speed accordingly but you already knew that. Secondly, the light at during this time in combination with a wide aperture will allow for incredible-looking bokeh.
Experiment
Try out different shots and angles and keep taking pictures! The light is changing quickly during this hour. Experiment with not only angles but subject positioning.
Try front-lighting where your subject faces the sun directly or back-lighting where the sun is behind your subject, to create a soft haze around them.
Rim lighting is also an effective aesthetic and can create a beautiful halo around your subject. The sun doesn’t have to be directly behind your subject, but the background should be darker. Try out different angles, especially low angle shots, to find the sweet spot.

Rim lighting example during golden hour
Lens flares (or sun flares) are created when light hits the lens. An easy way to get great flare is to move your camera so that your subject is partially covering the sun.
When golden hour comes to an end, it can produce beautiful silhouettes. Photograph your subject against the sun, and add some contrast in post production if needed.
Underexpose
Being a little underexposed with this warm light can create some really powerful imagery and vibrancy. It’s easier to lighten an image later than it is darken it.
Related Posts
Up Next
Working with depth of field
Whether a photographer or videographer, understanding depth of field and how it works is critical to creating consistently creative imagery. Once you get a grasp on depth of field and how to play around with blur and sharpness, you can try out your new skills during this golden hour.
Up Next: Depth of Field →
Showcase your vision with elegant shot lists and storyboards.
Create robust and customizable shot lists. Upload images to make storyboards and slideshows.
